Whether you go camping or find yourself in a forest after dark, a few tricks may help you out in tough situations. Of course, the first thing that comes to your mind is to build a fire. But that’s not always a good option, especially if you have to move and carry the fire and light.
Do you know how to make a torch in the forest? Stay tuned to learn this helpful survival hack before your next trip to the woods.
How to Make a Torch in the Forest
To make a tree-resin torch in the forest, you’ll need a wood stick or tree branch, pine tree resin, and flammable material or item, such as a cone. In situations where resin is unavailable, you can use a more primitive torch made of old rags wrapped on a stick.
Given that a lot can happen while in the forest, it’s good to know how to make both a resin torch and a “primitive” torch.
You may have the materials and tools, but you may not have the time to prepare your movable torch. On the other hand, you may have all the time in the world but not enough tools or materials.
Therefore, I decided to introduce you to both methods since both are effective and you may find them quite helpful.
How to make a torch in the forest with tree resin
If you’re unfamiliar with tree resin abilities, you may wonder why the resin torch is my first suggestion. Well, tree resin is a natural secretion produced when the tree is injured to heal its wounds.
The secretion is semi-liquid, and it can be best described as sticky. However, while it has healing abilities, it’s also very flammable. Thus, this substance is the best material for building a torch.
Read more: How to Build a Hut in the Woods
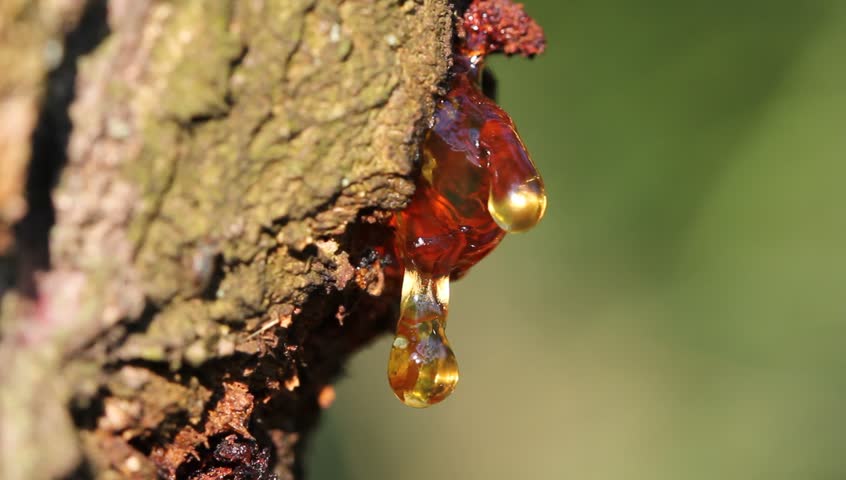
Step 1. Collect tree resin
While in the forest, I recommend collecting resin from conifers if possible. That’s because these trees produce resin with a firmer consistency, making it easier to collect.
Since trees produce resin to heal their wounds, look for injured areas. It’s very important to note that you should remove the tree only superficially so that there’s still enough resin for it to heal.
Collect as much as you need. Taking more it’s better since the more resin you use, the longer the torch will last.
Step 2. Prepare the handle of the torch
As I said previously, this method for making a torch is a bit harder than the one we’ll discuss later. That’s because it requires more time to build and more tools. So, if you’re a hitchhiker in the forest, you’ll most likely not be able to make a torch with tree resin.
However, if you have an axe or sharp knife, your chances are bigger.
You’ll use an axe to make two bisecting cuts on the branch that will be the handle of the torch. It goes without saying that the branch you’ll use has to be as green as possible. Using green wood for a torch handle is safer, as it won’t catch fire.
So, why should you make two bisecting cuts on the branch? Well, you have to get four prongs serving as a “frame” for the torch. Don’t cut too much, just enough for a pine cone to fit in vertically.
After you make the cuts, you should take two small twigs around one inch in length. You should criss-cross the twigs and insert them between the prongs of the handle. The twigs will make a gap between the prongs, which is the place where you’ll put the wick.
Read more: How to Build a Waterproof Shelter in the Woods
Step 3. Make a wick
You can use several items to make a wick. I recommend pine or spruce cones as they last longer, and you’ll probably find one while in the forest. However, if cones are not an option, you can use cattail. Also, a pair of old cotton socks can do the trick.
So, take the cone and soak it in the tree resin you collected previously. The trick is to put as much resin between the scales as possible so that the torch lasts for longer.
Step 4. Assemble the torch
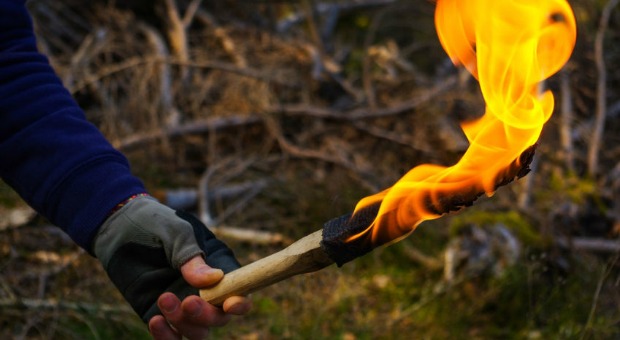
This is the last step of the instructions on how to make a torch in the forest with resin. Now you have both parts of the torch – a handle with one end split into four prongs and the wick soaked in tree resin.
To assemble the torch, insert the wick in the gap between those four prongs. You should remove the twigs that hold the prongs wide apart. Once you remove the twigs, the prongs will close and pinch the wick.
Now the torch is ready, and you can light it up.
Read more: What Side of a Tree Does Moss Grow On?
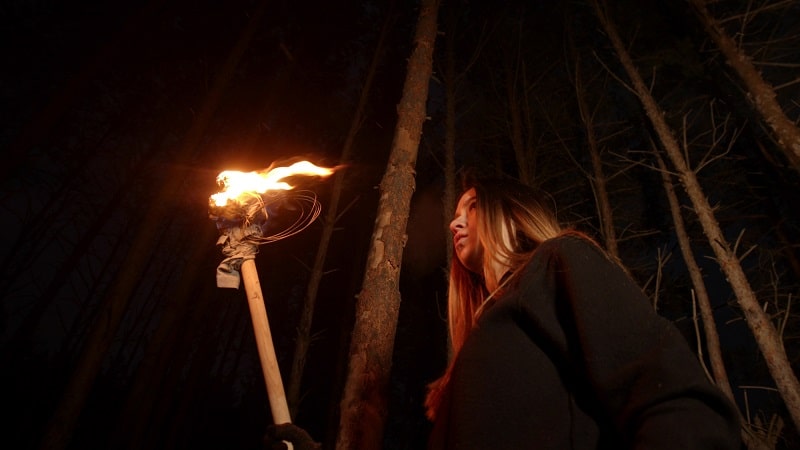
How to make a torch in the forest with old rags
You can use this method to make a more primitive torch, but remember that the torch won’t last as long as the one made with cones and tree resin.
Step 1. Old rags
The first step is to prepare the material that you’ll wrap around the torch handle. It’s very important to note that the old rags you’ll use have to be from natural materials, cotton being the best option.
Tear the rags into thin strips. Tearing them this way will make wrapping easier.
Step 2. Wrap the strips around the torch handle
Again, you’ll have to use a green branch if you don’t want to catch fire. Wrap the rag strips around one end of the handle and secure them so they don’t fall off.
Step 3. Use flammable material
You’ll need paraffin oil or another fuel type, like tree resin, kerosene, or simple cooking oil. Soak the wrapped end of the handle in the fuel so no dry cloth is left.
Now, your torch is ready, and you can light it up. Just be careful and don’t hold the torch too close to you.
Conclusion
Now that you know how to make a torch in the forest, you enhanced your survival skill sack with tips that may be very helpful. However, you should always be very careful with fire and torches, especially in the forest, for your own and our environment’s safety.