If you plan on camping and know that you will not be able to go on without your daily cup of coffee, worry not.
In this article, you will be able to read everything you need to possibly know regarding how to use a camp percolator to make the most delicious coffee ever.
So, if this sounds exactly like the information you are looking for, ensure to read this article until the end, as I will explain everything!

How to Use Camp Percolator
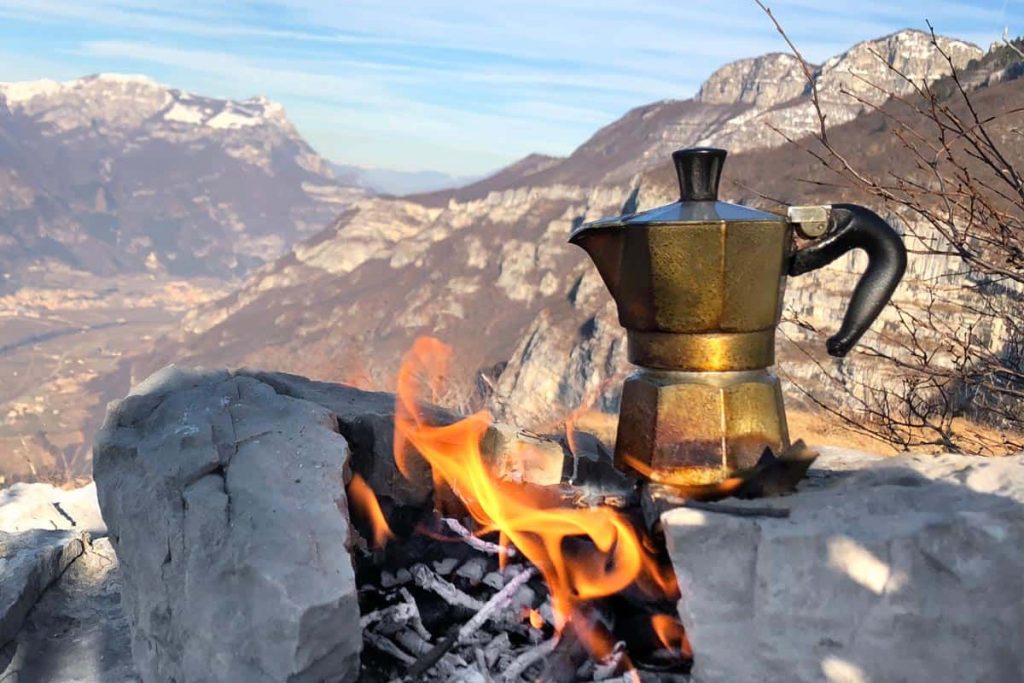
Just picture this. You wake up in the woods, and a nice breeze is coming through; you think of a nice warm cup of coffee, then you need to know how to use a camp percolator.
It is simple, you will see. All you have to do is start a campfire, fill the percolator, assemble the basket and percolator, start boiling the water and brew the coffee. However, I included a detailed guide below; don’t worry.
Step-By-Step Guide
The first and foremost thing to do before learning to use a camp percolator is to choose the right one for you and your needs.
As there are various types and sizes of camp percolators, the main thing you need to pay attention to when choosing one is its size.
Depending on how many people will go with you on your camping trip, you can choose a larger percolator of about 50 fl oz for around eight cups of coffee or a smaller one that would be enough for two to three people.
Additionally, by knowing that a traditional cup is about 6 fl oz, you can do the math and calculate how large of a camp percolator you need to make enough coffee for each person on your camping trip.
Necessary supplies
After seeing that choosing the suitable percolator is crucial, it is time to continue to the actual steps of how to use a camp percolator to make coffee in the woods.
To make a tasty coffee that everyone would fall in love with and ask for more, you must ensure that you have all the necessary equipment.
The supplies you need can be found in any store, so you can equip and be ready for your camping trip in no time.
- A coarse ground coffee of your choice
- Water
- Camping percolator disc filter (these are optional but always come in handy)
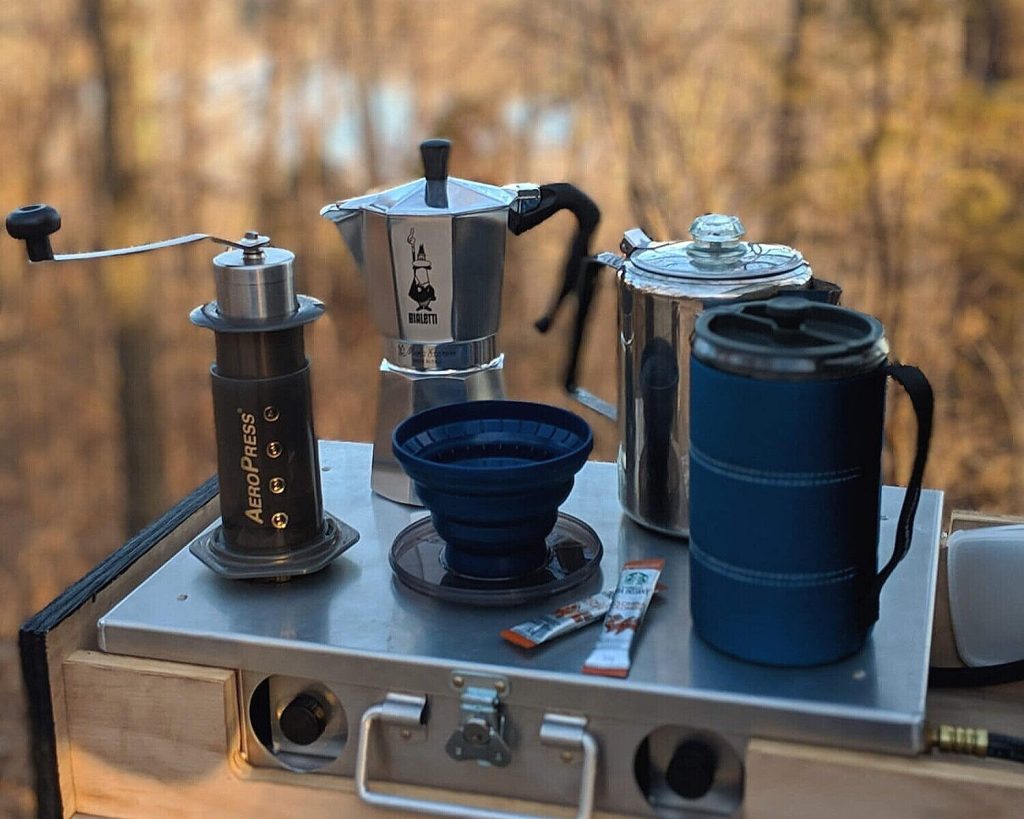
- Camping percolator
- A sturdy and high-quality camping coffee mug
- Heat source (campfire’s hot coals or traditional camping stove)
Although to make coffee with your camp percolator, you can use almost any type of coffee, I strongly suggest you use coarse ground coffee to get the best effect.
As the coarse ground coffee is bigger, it can not fall into your coffee mug through the holes in the brew basket.
The process
Start your campfire
The first thing you need to do is to start your campfire. There are two methods to place the camp percolator.
First, you can use the fire pit grate and place the percolator on top of it. If you do not have conditions to do this, you can simply put the percolator on top of a bed of coals.
Read more: How to Use a Gimlet

Fill the percolator
After finding a suitable spot on the firepit, the next step you need to do is fill the percolator with water. To do this, you must open the percolator pot and remove the brew basket, basket cover and stem from the pot.
Regarding the amount of water you need, you can go with the information that you will need 6 fl oz of filtered water for one regular cup of coffee.
So, according to this measurement, fill the percolator with as much water as you need. Just make sure not to cross the pour spout line.
Assembling the basket
The next, and maybe the most important, part of making coffee in your percolator is assembling the basket. You need to follow these steps carefully so that you do not end up with warm water with a pinch of coffee in it.
First, carefully attach the basket to the stem and pour the coffee grounds. The ratio between coffee and water is two tablespoons of coffee per cup.
If your particular percolator model comes with a filter, ensure to put it where it belongs so that no coffee grounds end up in your brew.
Also read: How to Build a Teepee With a Fire Pit
Assembling the percolator
After putting the coffee in the basket, it is time to assemble the percolator. You will need to carefully place the stem together with the coffee basket inside the camp percolator pot and close the lid tightly.
Start boiling the water and brew the coffee
Once the camp percolator is ready, it is time to put the pot over the fire and wait until the water boils.
When you hear that the water is boiling, please remove it from the direct flame so that the coffee can nicely and gradually brew.
After doing this, let it percolate for about five to ten minutes, or if you have a transparent dome, you can watch the coffee darken and decide when it is ready.
When you decide that the coffee has reached your desired strength, pour it into your coffee mug and enjoy.
Tips for Making the Most Delicious Percolator Coffee
Now that you’ve learned how to use a camp percolator, it is time to see how you can elevate the taste of your coffee to the next level.
Bring some creamer with you
If you are not a big lover of strong black coffee and have extra room in your camping bag, you can always take some creamer or milk with you to make your coffee even richer and more pleasurable.
Flavor your coffee
When you want to enhance your percolator coffee, try putting a little cinnamon in it or even chocolate syrup. Who said that camp percolator coffee has to be plain and boring?
Look for a coffee brand specifically for camp percolator
Finally, if you want your coffee to taste as best as it possibly can, try looking for a brand of coffee specifically for a camp percolator so that you eliminate any unwanted coffee taste that a regular coffee might produce when brewed in a percolator.
