Whoopie slings are not the most favored items for camping out in the woods, but they can be pretty damn helpful. We all know that a large portion of a backpacking trip or a hunting season can be spent in a tent. But only those who know how to set it up properly can enjoy it and get a break.
Whoopie slings are very helpful in those situations and can keep your hammock tight while allowing you to enjoy and explore your adventurous side. My article is perfect for you if you are like me, more of a DIY guy, and you trust your hands more than any store. I will give you all the necessary instructions on how to make a whoopie sling by yourself.
How to Make a Whoopie Sling
Before creating the whoopie sling, there are a couple of factors that you need to consider, such as material, strength, length, and hook. Once you have that figured out, you must take a sling rope and a needle to begin the process.
Making a small loop is the first step that should lead you to pass the remaining part through a rope. Next, you must create another loop and fix the tail to add more elasticity.
That is how to easily make a whoopie sling. In the next part, I will explain each step of the process and take you through every maneuver.
People who enjoy DIYs will make the whoopie sling their new weekend project. The process can be easy if you follow my instructions. Let’s get to it!
Read more: What Is a Tarp Made Of?
Step-By-Step Guide
Use a sling rope
As I mentioned, the first step of the process is finding a big needle and a rope. Take the starting part of the rope and make a loop. Take the short end of the rope and pass it through the more prominent end. This will allow you a much more secure loop.
Now, using a fid, take the bigger end of the rope and pass it through the shorter end. You must be careful in this step and do it properly because you do not want the loop to lose its shape.
Pass the rest of the rope
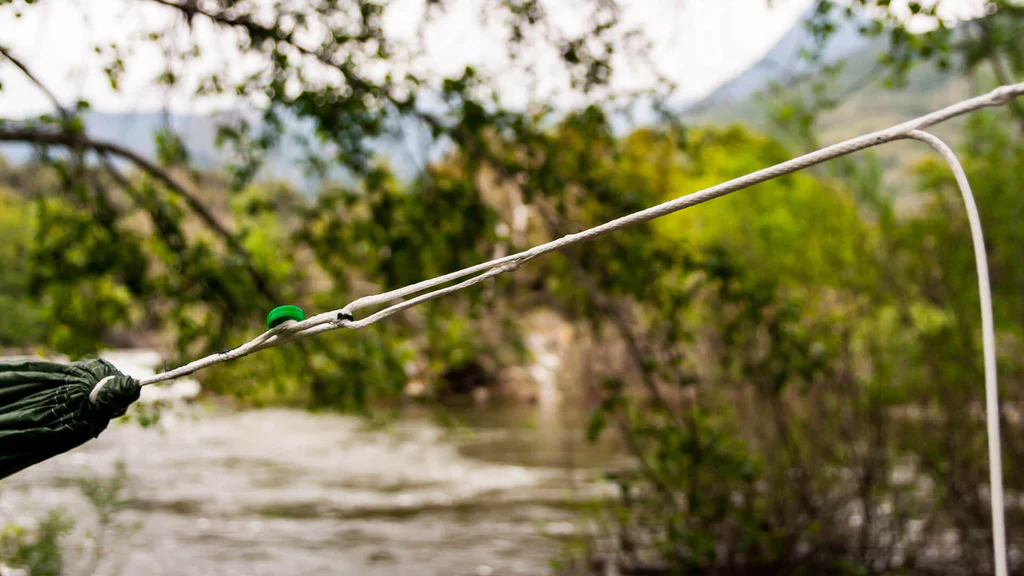
Once you have finished the first step and are done with the loop, you will notice a small part of the rope dangling. By all means, do not cut it. Instead, you must insert it within the cord. Passing the remaining string will add more elasticity to the rope’s function.
Also, by passing through the remaining part of the rope, you can adjust the loop and make it larger or smaller, depending on your preference. This part is called the loop eye and is used for adjusting the hammock.
Since this is a DIY project, you must keep your eyes open for every small detail and carefully follow my instructions. So, after leaving a couple of inches from the rope, you can use the fid again and make another loop.
Basically, this is step one repeated all over again, but this time, the created circle will be much bigger. In addition, you must pass the short end of the rope itself.
Secure the tail
If you have done everything, the only thing left is to secure the end of the tail, which will give you the ability for more adjustments and elasticity. Take the end of the rope, or the tail, and insert it back. This will create more elasticity and give you options for adjusting the loops.
Read more: How to Make a Torch in the Forest
Factors to Consider When Making a Whoopie Sling
If you carefully followed my instructions, I am confident that by now, you know how to make a whoopie sling.
However, if you try to make the rope or just buy it from a store, there are a couple of factors that you must first take into consideration to have the best experience possible.
Material
The material is the first thing you should be aware of that also plays a major role in the quality of the whoopie sling.
The Amsteel whoopie sling is highly praised, and it is often referred to as the best one because it does not allow too much stretching. This 12-braided rope makes even heavier people feel safe and maintains their weight well.
Another highly praised and popular material for a whoopie sling is the DynaGlide. This material shines on support and durability and can be easily bought online.
Strength
I am confident that once in your lifetime, you stumbled upon a video of people falling off a hammock. Therefore, you understand the importance of strength when it comes to the whoopie sling.
A strong whoopie sling must have the ability to endure at least 500 pounds and have a maximum limit of 1500 pounds.
In addition to the strength of the whoopie sling, the power of the hammock and its size also play a crucial role in the overall endurance.
Length
Despite that, many people do not focus on the length of the rope; it is one of the fundamental parts. The size is what eventually determines the comfort level of the hammock.
I recommend a whoopie sling 2 to 8 feet long for a camping trip. A 4 to 8 feet long rope will also get the job done.
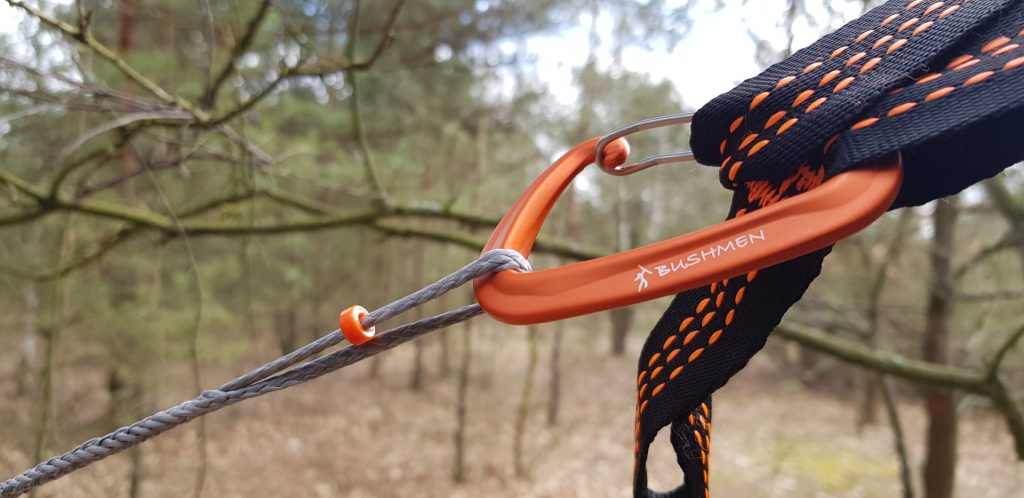
Hook
If you like to make the process of using a whoopie sling out in the forest much easier, acquiring a hook is a definite must. Attaching a hook will make your life much easier. You can feel more secure without going through the trouble of creating a knot.
Read more: How to Build a Teepee With a Fire Pit
How Does a Whoopie Sling Work
Now that you know to make a whoopie sling, you probably have more questions about maximizing its usage.
A whoopie sling should be put through a tree with a loop. The loop amongst us, the adventurers, is called loop-eye, which you can later adjust and make it tight or loose.
Also, it allows you to adjust the height of the hammock. With the help of a whoopie sling, you can suspend the hammock anywhere in the woods.
Conclusion
After reading my instructions, I am confident you know how to make a whoopie sling or what to look for if you decide to buy one.
The only thing left is to call your partner, plan a camping trip, and take photos on the tightly secured hammock.
Happy camping!