Many people get jitters from simply hearing the idea of cutting down a tree and merely crafting a bow and arrows for taking down deer or some other animal. Despite not being as precise and effective as the modern ones, the bow and arrows created in the wild can be deadly to some creatures.
Being one of the most effective hunting tools, the bow and arrow allow you to take down your prey from a short distance. In a survival situation, having the knowledge and skill to create a bow is a huge advantage. After reading my guide, you will feel confident knowing how to make a bow and arrow in the forest.
How to Make a Bow and Arrow in the Forest
One event that can change your life is learning to make a bow and arrow in the forest while a dangerous circumstance is upon you. These weapons are great for self-defense, allowing you to be safe in the wilderness.
Making the bow and arrows can be easy if you follow my steps and find all the necessary parts. Before we go any further, remember that a self-made bow does not have crosshairs and cannot take precise shots from a larger distance.
To make this weapon that has been used by one of the strongest warriors and hunters in our world, you first have to gather the right stuff. Afterward, you can use charcoal as a marker before carving the bow.
Then, you can make a notch that will fit the string and mix your glue. For creating the arrows, you can fletch them with duct tape and use a 550 cord as a bowstring. Lastly, you can create arrowheads from your empty beer bottles.
In the next paragraph, I will explain each step more thoroughly so that people who have never been in the wild can learn how to make a bow and arrow in the forest.
Read more: What Is Batoning With a Knife?
Making a Bow and Arrow
Gathering the right staff
The first place to start when building a bow and arrow is finding the right materials. First, for the bow, you must find a flexible wood that is also strong and will not snap the first time you bend it.
As for the arrows, you must discover sturdy shoots and saplings that fit the diameter of a regular arrow. Building a bow and arrow at home can use cabinet scrapers, sandpaper, and drawknives, but a good knife is all you need in the forest.
For same-day shooting, you need to find a bow stave that is dry enough to serve its purpose but not rotten. For any future bow-making endeavors, I recommend that you cut live wood and let it dry for a couple of months. That way, you can have the best results. You can use black locust and osage orange for the bow together with hickory.
Lastly, ensure that you find a bow stave free of side branches and twists. The length should be 5 to 6 feet long. The longer the bow, the less chance it has of breaking when you bend it.
Read more: How to Set a Body Grip Trap
Using charcoal as a marker
Because the bow has many parts, the advantage of the weapon can be easily noticed. Although the bow will have two limbs, upper and lower, it can be created from a tree limb.
In addition to the limbs, the bow has a belly, back, and grip in other parts. The back and the gut are the flexible and most crucial parts.
Using charcoal, you can mark the stick where it bends to know exactly where to carve. Charcoal is my preferred option; you can use whatever you have with you, it can be a pen, dirt, etc.
Carving the bow
You can be lucky and find a sapling or a branch that is the perfect size for a bow, but the chances are you will need to do some carving. You can begin to carve the wood with a knife from the belly and leave out the areas where there is bending.
The mission is to make the limbs bend as much as possible in a curved shape. Also, while carving, re-check the bending often to know that you have not gone too far. Too much chiseling can break the wood.
Refine each limb and make the two very similar. The finishing touches are called tillering and require a lot of patience.
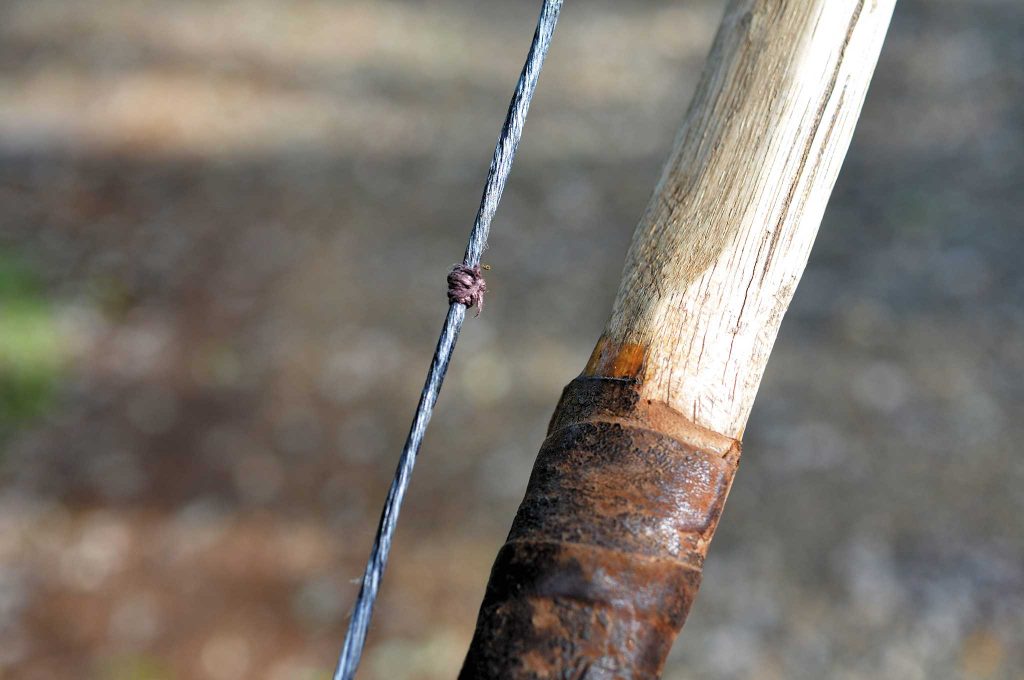
Making a string notch
To attach the string to the bow, you will need to make small notches on both sides. Be careful not to chisel the back of the bow.
The making of string notches is usually done when you are halfway done with your bow. This way, you can do some gentle tests and see which part of the bow needs a little more sculpting.
Read more: How to Use a Gimlet
Mixing glue
You can use just a few drops of glue to secure the arrowhead to the shaft. If you have no superglue, your next best bet is pine sap.
Collect the sticky fluid from trees and add some heat to it. You can have glue with a small pot and a lighter in no time. You can apply it on any area of the bow that you feel is necessary.
Create arrows
Now that the major part of the weapon is finished, it is time to create the arrows. You can use saplings and branches with lengths of about 30 inches. Like with the bow, the wood must be dry but not rotten. Straighten and trim them so that they fit the bowstring snugly.
You can use duct tape for fletching. To create duct tape feathers on your arrow shaft, you just need to sandwich the end of the stick between the two pieces of tape.
550 cord has the right thickness and can pass as a bowstring. Right from the get-go, it can stretch, which allows it to absorb some of the bow’s power. You can get rid of this by twisting the 550 cord.
Making arrowheads
With the last step, I wanted to get fancy with it because it is in my nature. Everyone who learned how to make a bow and arrow in the forest should utilize finishing touches and make each weapon unique.
This is where the arrowheads come to play. For an arrowhead, you can use bones and small triangular rocks, or you can just make the arrows pointed by carving them.
My recommendation is to use glass from your empty beer bottles. By applying heat, you can get the triangular shape that you seek.
Read more: How to Sharpen Axe With Stone
Conclusion
Understanding how to make a bow and arrow in the forest is a skill that can keep your belly full and protect you from predators. Hopefully, my guideline made things more interesting.
Good Luck!