If you want to learn how to set a body grip trap, you have clicked on the right article. Here, you can read everything you need to know regarding setting a body grip trap in a few different methods and ways, depending on the model of the body grip trap itself.
Therefore, if this sounds like something you are highly interested in, let’s jump straight to the point.
How to Set a Body Grip Trap
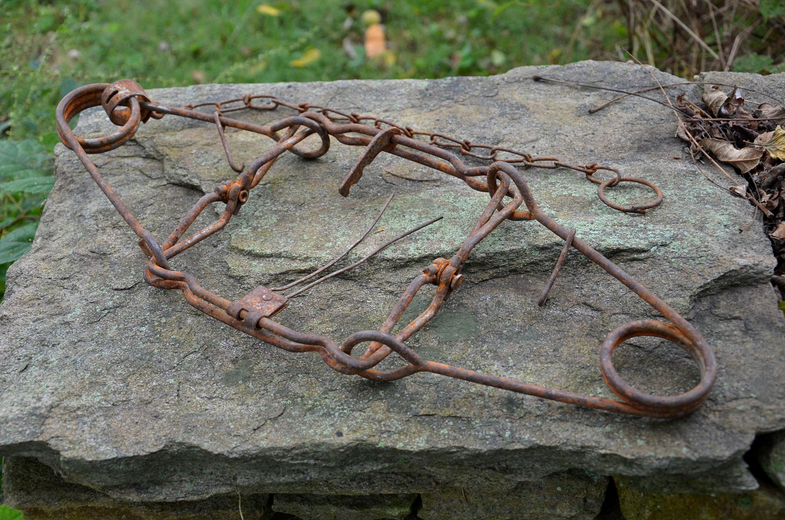
If you are in the wild and need to use a body grip trap, worry not. In the continuation of this article, you will see the different types of body grip traps and the various ways to set a trap.
Before we continue with the instructions, I want to warn you that setting a body grip trap can be difficult and sometimes dangerous, so you must be extra careful and follow the instructions precisely.
Finally, setting a body grip trap is always easier when two people do it together; you might ask a friend or a close person to help you stay as safe as possible.
How to set the #110BT and #110BT MAG body grip trap
The first body grip trap we will look at is the #110BT and #110BBT MAG types. As these are the most commonly used and popular body grip traps, I wanted to start with instructions for them.
Additionally, as I have previously mentioned, you might be extremely careful while placing and setting these traps up, as they can be very dangerous if not handled properly.
That said, the instructions you will need to go through to set these types of body grip traps properly are the following:
Read more: What Is Batoning With a Knife?
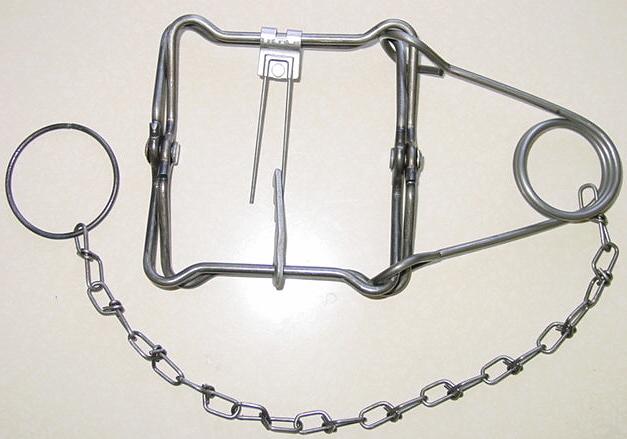
Step-by-step instructions for the #110BT and the #110BT MAG
- The first and foremost thing you must do is carefully extend the spring away from the rotating jaws found on the body grip trap itself. After doing so, you will need to compress the spring with one of your hands.
- Then, while you are keeping the spring compressed with one hand, with your other hand, you will need to bring the trap jaws together.
- Finally, after you are sure that the jaws are properly brought together, carefully place the so-called dog part into the notch of the trigger.
Doing this will set the body grip trap and make it fully functional and set. What’s left to do is place it in the preferred location and position with much caution and care.
How to set the #120BT and the #160BT body grip trap
The other two most used types of body grip traps are the #120BT and the #160BT body grip trap.
Setting up these two types of traps represents the same danger as the first ones, so you must be extremely careful while assembling and placing these traps in your desired location. Follow the instructions slowly and do the steps carefully.
Step-by-step instructions for the #120BT and the #160BT
- First, you will need to extend both springs away from the rotating jaws of the body grip trip.
- Then, take and compress one spring and carefully set the safety hook to keep the spring in place and compressed. Ensure to repeat this same step for the opposite spring as well.
- After doing so, and the springs are tightly compressed, bring the trap’s jaws together.
- Finally, as the trap’s jaws are together, place the so-called dog part into the notch of the trigger, and your trap is fully set and ready to be used.
How to set the #220BT, #280BT, #330BT, and the #330BT MAG
Finally, we will look at how to set the maybe most complicated types of body grip traps: the #220BT, #280BT, #330BT, and the #330BT MAG. As these types of traps are usually much larger than the previous ones, I recommend you only use them when necessary.
Otherwise, they might represent a general danger to the overall safety of the people in the particular location of your choice.
Read more: How to Set Conibear Traps
Step-by-step instructions for the #220BT, #280BT, #330BT, and the #330BT MAG.
- First, take both traps’ springs and pull them away from the rotating jaws found on the body grip trap.
- Then, for the next step, you will need to use the Duke set tool, which you will need to hook the notched ends into the spring eyes of the spring itself. Then, take the spring, compress it, and use the safety hook to keep the spring in place and tightly compressed. After this step, you must repeat the same action for the opposite trap’s spring.
- After both springs are in place and compressed, carefully take the trap jaws and bring them together.
- Ultimately, place the so-called dog part into the proper notch of the trap’s trigger. When you do this, your body grip trap will be all set and ready.
How to set up the step-and-pull type of body grip trap
The step-and-pull body grip trap is one of the most convenient and easiest. The biggest advantage of this type of body grip trap is that you are not required to use any additional tools, which is usually always the way with the basic and regular body grip traps.
To set this type of body grip trap, you will need to step down on it, position the trap so that the spring eyes are lined up with the hooks, and finally, pull the handle upward to compress the trap spring. After doing so, you can use your free hand and flip the safety switch on the spring.
Read more: What Is Char Cloth?
Conclusion
In this article, you could have read the easiest and most methods on how to set a body grip trap for the most popular types of traps.
I ensured to provide in-detail instructions so that anyone might successfully set up these traps, regardless of their trap knowledge and experience.