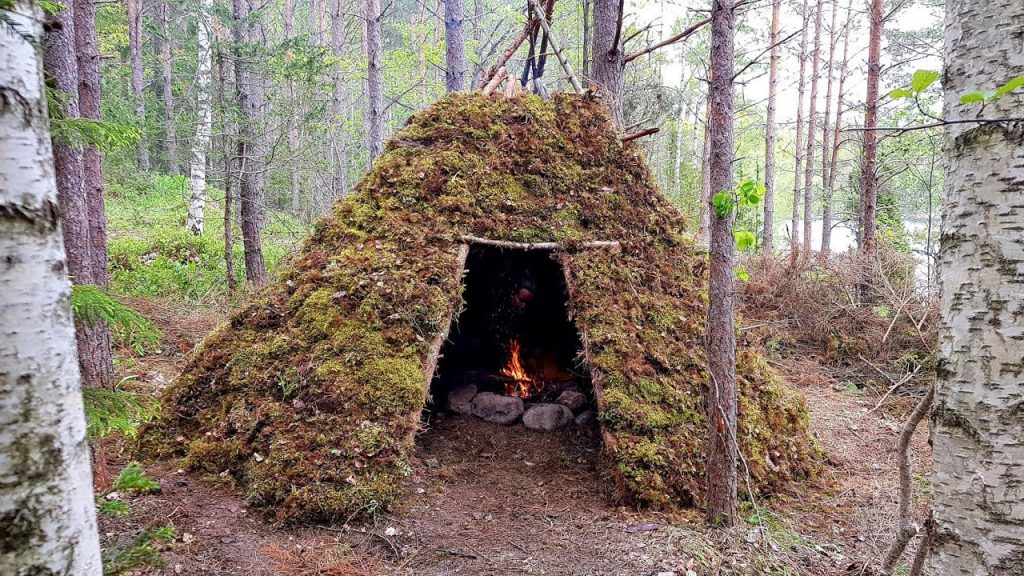
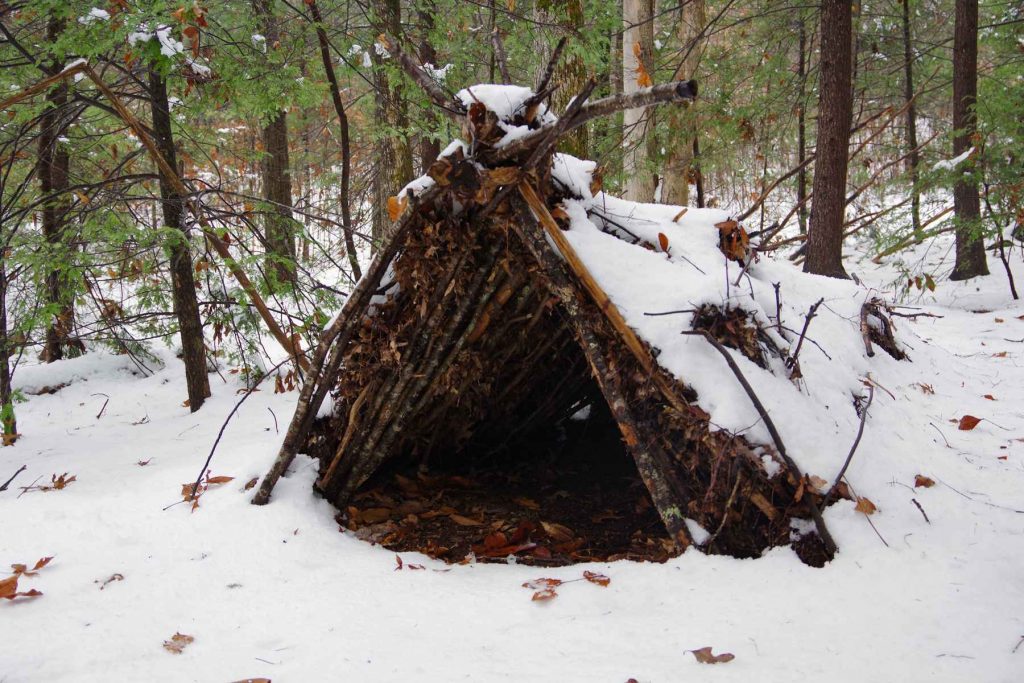
Building a shelter in the wild might help you stay dry and warm on cold days. Knowing how to make a wickiup might also be helpful since the world prepares us for the worst while we hope for the best.
Having a shelter is one of the three most important things you need for existence besides food and water. Having no shelter in severe climate conditions might be a serious life threat.
Knowing how to make a shelter might save you and the life of your close ones. So, I decided to share some tips and teach you how to build a stable and warm wickiup.

How to Make a Wickiup
The first and most important thing is to find a good location and quality building materials. Then, you start building the wickiup frame out of strong and long branches secured with other wood or paracord.
Then, add the addons or naturally existing debris like leaves, twigs, rocks, moss, dry material, etc. Fill the inside with leaves to make a soft sitting place.
However, building a wickiup is the same as building a house. You need good tools, materials, and stable construction. Otherwise, the wickiup will fall apart and may hurt someone inside.
The most important tool you may need is a foldable saw. Compact tools are excellent in your emergency backpack because they might be crucial for survival and existence in difficult situations.
Also, store a strong and long paracord. No matter the purpose, the paracord might be a useful supply for surviving.
Building a Wickiup: Step-By-Step Guide
Step 1: Find a location
Choose a safe surrounding area to make your shelter. For example, a good location is a dry and drained area surrounded by trees and useful materials. Ensure your wickiup is far from the food source because many wild animals live in the woods.
When choosing the location, check for animal tracks and signs because you may stand on the bear’s route and make your shelter a dangerous target.
The best location for your wickiup shelter is between trees, far from valleys and barren hills. Trees will hold the wind and reduce its power so that strong cold winds will not destroy your shelter.
Building a shelter between the trees is also good because you will have abundant materials to build your wickiup. You would not need to go far and search for branches, wood, leaves, and soft materials and bring them to the chosen location.
Also, avoid locations with running water and widowmakers. Inspect the location twice or more before making your wickiup a risky shelter. It is okay to build it around trees, but there should not be danger above you.
Step 2: Make the frame
Wickiup shelters look more like tepee houses. They are usually built on a tripod frame and look like a cone. To make the frame, you should choose strong and longer branches.
The wickiup frame keeps the shelter firm and secure, so try to do your best and find the strongest materials when building it.
Get three or more strong three branches and create a tripod. Secure them with paracord and ensure they are tight. You can also dig shallow holes in the ground where the tripods end to add extra security and stability.
Knowing how to tie knots is also essential in building a stable wickiup. Tie the paracord around the branches towards the top multiple times. Check if the construction is stable before putting the coverings.
Related: How to Build a Hut in the Woods

Extra tips
Choose green branches and materials to make the wickiup a safe place where you can make fire. If you plan to start a fire in the wickiup, it is best to make a fire ring on the top of the shelter so that the smoke will come out safely without burning the wickiup down.
Also, you should dig a hole in the center of the wickiup so that the fire will be lower in the ground without the danger of high flames burning your building.
Carbon monoxide is a silent killer. If you plan to start a fire in the wickiup, don’t forget to leave an entrance for fresh oxygen.
Step 3: Cover the wickiup
Once you build the frame, you can start adding branches, leaves, moss, and other kinds of coverings. Pile the debris on the frame and ensure they are placed close enough to prevent air and water from entering the shelter.
A thick covering will keep the heat inside the wickiup and dry the place, even if it is raining outside. Make the covering as thick as possible to increase the water and wind resistance. You can also place bark on top to make them look like shingling and protect your shelter.
Step 4: Make the interior
Make internal isolation for additional safety. Gather reeds, grass, moss, leaves, and other soft materials and place them on the ground and walls. If the area is wet and exposed to humidity, you can make a wooden base on the ground to avoid sitting directly on wet soil.
Placing a hardwood base will keep you warm and dry, protected from the cold during winter. Over the hardwood, place soft materials to make it comfortable for sitting and sleeping.
Step 5: Make a door
Making a door is an additional step and good if you need to stay in the wild for longer.
You can make the door of the same materials you used to make the wickiup. The base is always stronger, while the coverings are debris and leaves found around the shelter.
Having a door is also good if you plan to store food in the shelter. Remember, many animals live in the wild and are hungry during winter. So, now you have gone through all the steps about how to make a wickiup.
Read More: How to Build a Waterproof Shelter in the Woods
Conclusion
Knowing how to make a wickiup is a skill worth learning. I don’t know what tomorrow brings, so it is best to stay prepared and well-educated in survival tips.
Choosing to build a wickiup is the best option since it can be a heated and non-heated shelter. No matter the weather conditions, building a wickiup is always a good idea.
