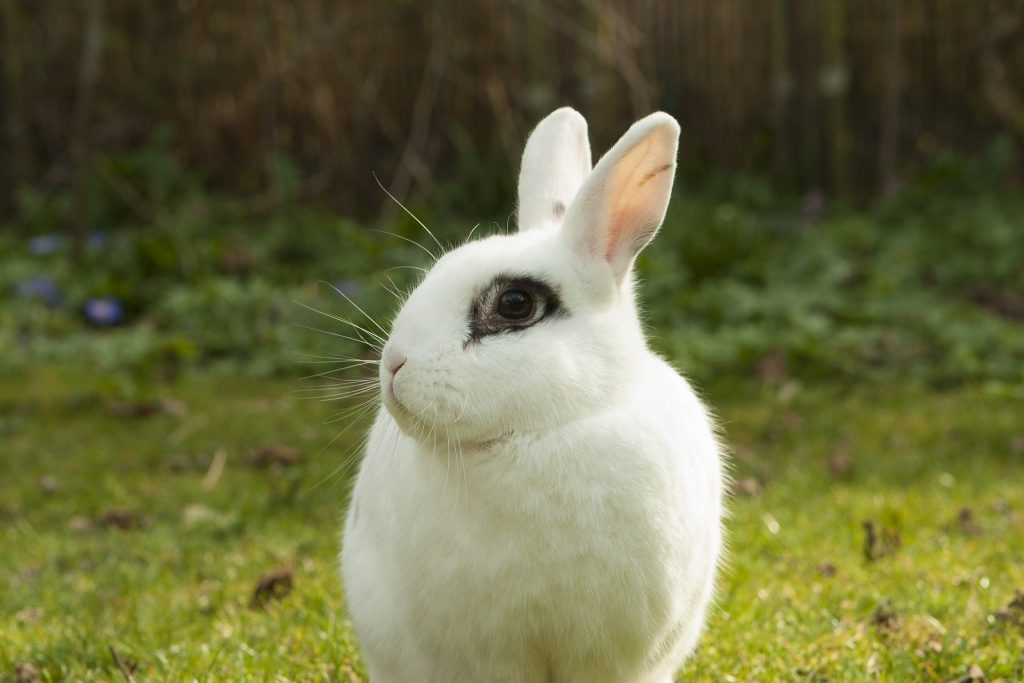
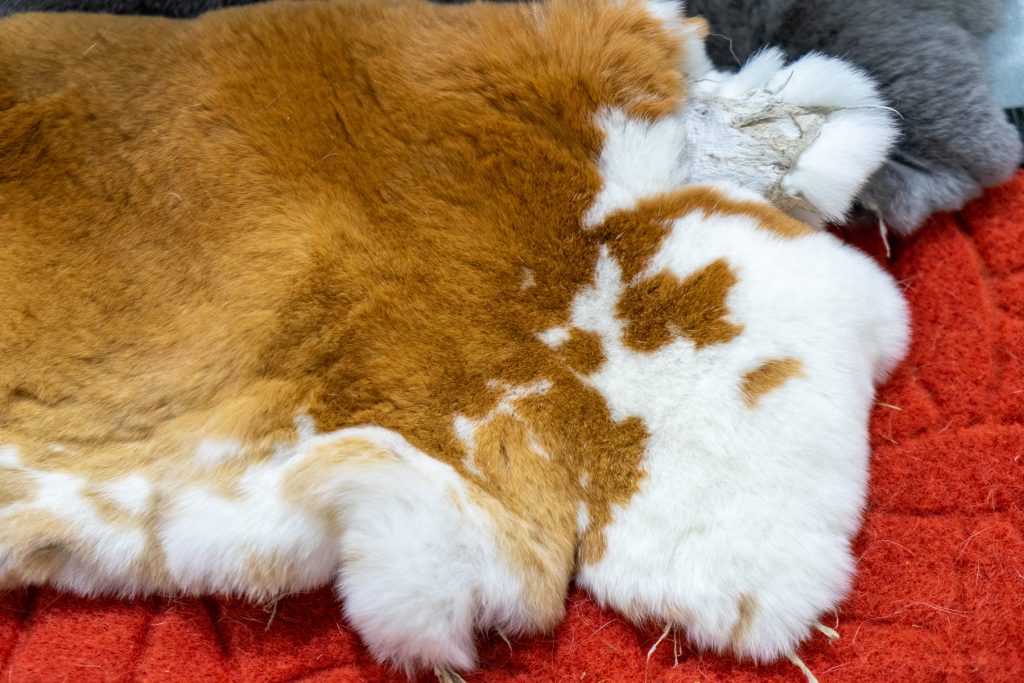
Although many people have them as house pets, bunnies make great livestock. They are a great meat source that provides much protein without taking up too much space. Another great thing about them is their beautiful fur which can be repurposed for many occasions.
Unlike chicken, pork, or beef, rabbits are a clean source of protein that is not pumped with hormones or antibiotics. Bunnies usually eat greens the entire year and quickly reproduce. Skinning a rabbit can be an easy task as long as you follow my guide. In my article, you can find all the necessary information on how to skin a rabbit for the pelt.
If you are a hunter and decide to take an animal’s life, give it the dignity of eating and skin it properly instead of letting it go to waste.

How to Skin a Rabbit for the Pelt
To successfully skin a rabbit without reducing the value of the fur, you must first cut the skin between the thighs. Next, pull the skin off the hind legs. Afterward, tighten the skin to bare the trunk and then the forelegs. The carcass should be skinned, not disemboweled. The final step is opening the carcass and removing the lungs and intestinal tract.
When skinning the rabbit successfully, ensure you cover the largest possible skin surface and keep the fur’s value at the end. The first cut is typically at the hind between the thighs.
The skin on the head allows better stretching in the end, but it does not add commercial value to the pelt. The entire process of skinning should be done with care to avoid any mutilation or defects at the end.
Now that you have a general idea of how to skin a rabbit for the pelt, I will explain each operation step by step.
Skinning the rabbit
First off, make sure that you kill the rabbit in the most human way possible. If you still notice some twitching or breathing, swiftly break its neck or cut its throat with a knife. There is no need for the animal to suffer. Even the greatest hunters on the face of the earth, like Cam Hanes, love their animals and enjoy being a part of their environment during hunting seasons.
You must place the rabbit on a solid surface to do a stable skinning job. Make sure that you have enough room to work with. Pinch the hide on the back of the rabbit and cut it with a knife near the base of the neck. Now, turn the blade with the cutting edge and cut a line from the stomach to the neck. Ensure not to pierce the stomach because the intestine can contaminate the meat.
The next step is taking off the fur. Calmly and steadily, with a firm grasp, use your fingers to separate the carcass from the skin. If the skin tears into two pieces, ensure you firmly grab it to keep the pelt undamaged. The fresher the rabbit, the easier it will be to remove the skin.
Placing the skin in water
The fur freshly removed from the rabbit is called “green skin”. Many butchers have never even seen green on their skin, so do not panic; it is just a name. Moving on, you must put fresh skin into a bucket of cold water. In the meantime, you can finish dressing your rabbit.
By dressing, we mean gutting and butchering. Placing the skin in cold water will preserve its condition while you finish up with the animal. You should also keep a water hose nearby to wash the rabbit’s blood and leftover fur. Also, you can get another bucket for the rabbit’s organs because they are great chicken feed.
Read more: How to Smoke Meat in the Wild

Clean the pelt
After all the butchering is finished, dump the water that the skin was sitting in and replace it with fresh new cold water. Now, rinse the pelt carefully. You can use mild soap for rinsing, but I do not recommend that. The whole rinsing idea is just to get the blood off because once the fur is tanned, it will show up. Afterward, squeeze the excess water out of the hide but be gentle.
The final step is using nails to hang the stretched-out pelt loosely. The fur should sit and dry overnight.
Preparing the pelt
For the hide to be used, you must treat it with care. But firstly, you need to pull off the excess that is left. After butchering the rabbit, you immediately notice a slimy layer attached to the fur. The preparation treatment removes this layer. At the end of the day, if you cannot remove the entire slime, it is not the end of the world.
You can peel the unwanted layer by hand, and the internet suggests a lot of other treatments, such as soaking the fur in salt, borax, and other substances.
I will reveal to you what my experience has taught me and how I do this. I apply salt to the fur and let it sit for a few days. Each day I return and add more salt, which will eventually suck all the moisture and leave you with only quality fur. Make sure the pelt is stretched out because the salt may cause some shrinking. The best part is salt is an extremely cheap solution, and one bottle is about $1.
Also read: How to Make Clothes in the Wild
Utilizing Rabbit Pelts
The dried and clean pelt that you are left with in the end can be used for multiple reasons, such as:
Sewing
Many people don’t know that sewing pelts can be a great and unique way to make items. If you are good with a needle, I am confident you can figure out this method and build something with your hands that will be meaningful.
Furry hat
The pelt can be turned into a warm and cozy hat that will keep you warm in the wintertime. This is also an economical move, and instead of purchasing hats, you can go through the cold periods of the year with your creation on your head.
Baby blanket
The rabbit pelt can be a great baby blanket. The size is perfect, and the material softness is out of this world.
Fur mittens
To finish up the DIY clothing collection, you can make fur mittens from rabbit pelts. These gloves will definitely keep you warm and are an excellent choice for the winter.
Conclusion
Now that you know how to skin a rabbit for the pelt and how you can keep the value of the fur, the only thing left is for you to try the process. Don’t be frustrated if you don’t succeed on the first try. Even the most experienced hunters need a little bit of practice.
If you have additional questions regarding the topic, leave me a comment below.
