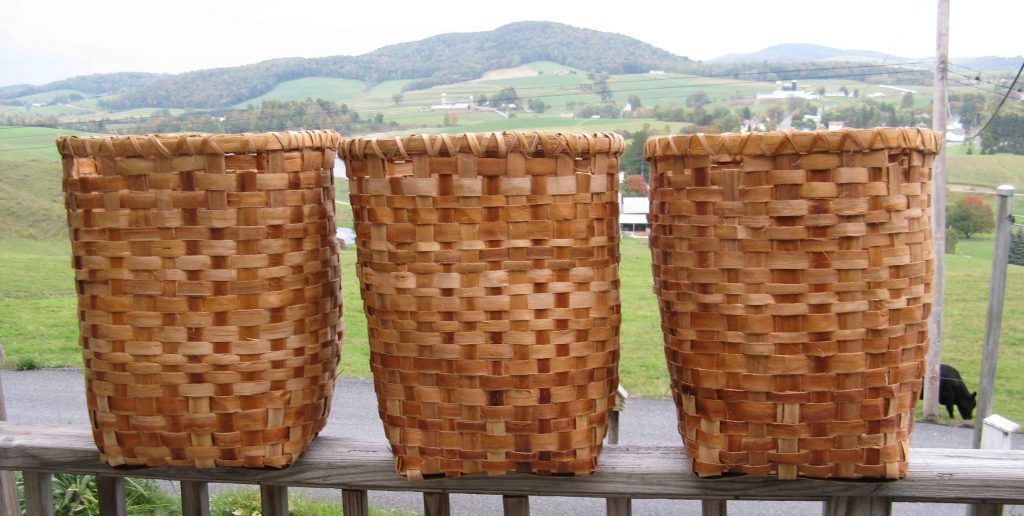
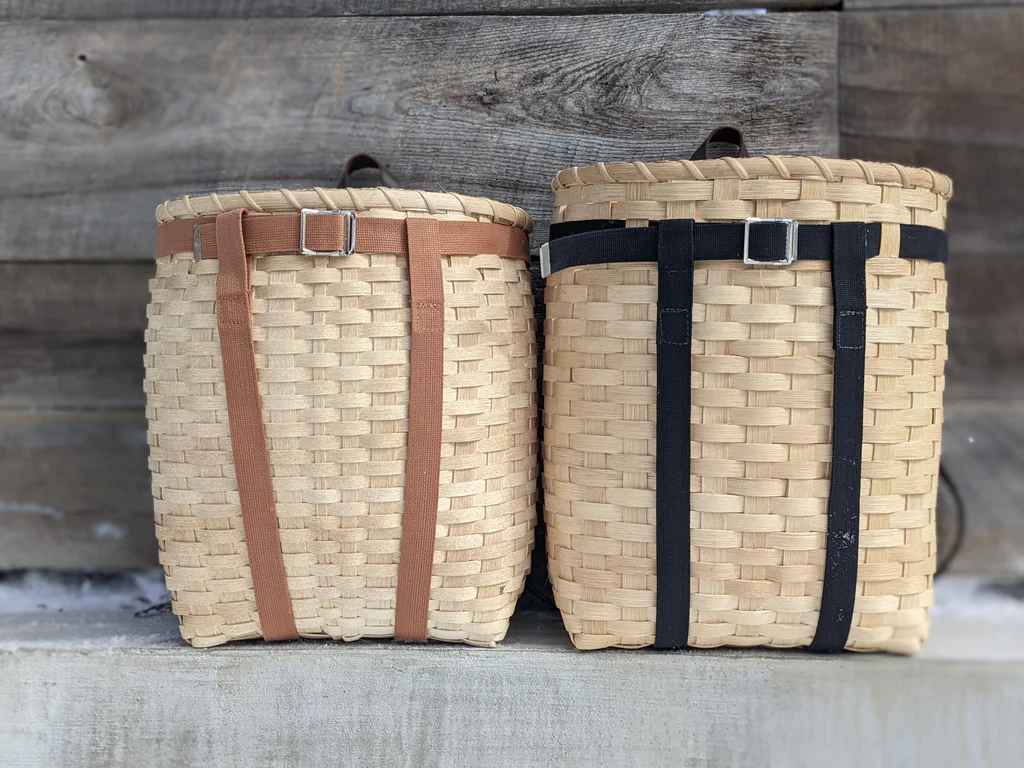
Pack baskets, also known as Adirondack baskets, have been used for centuries. They’re practical and sturdy, and if they are well-made, they can last forever.
So if you want to know how to make a trappers pack basket with little effort while having fun doing it, follow the instructions I provide in the following sections.

How to Make a Trappers Pack Basket
A trappers pack basket or an Adirondack pack can easily be weaved from already-made materials, or you can make the materials yourself. The weaving process can take one day or be stretched across several days. It is a very straightforward process, but one which requires skill nonetheless.
I will cover the basket-weaving process using pre-made materials. You can choose basket weaving kits on Amazon, eBay, or other online websites or purchase the reeds and other components from the list I will provide below.
Step-By-Step Guide on How to Make a Trappers Pack Basket
Materials that you will need
Before you begin the weaving process, you need to make sure that you acquire the following materials:
- Two pieces of wood measuring 1x2x14 inches for the feet
- One basket weaving roll reed of ⅞ inches (23 millimeters)
- One basket weaving roll reed of ⅝ inches (15 millimeters)
- Thin strips of bendable wood for the rim, preferably ash
- Fabric straps leather
- A paracord to tighten the rim with
- Small nails or screws to attach the feet
- A pencil
- A tape measure
- Plastic spring clamps of various sizes (make the job much easier)
- Scissors
- A drill with a small drill bit
The weaving process
Now that you have all the necessary materials for the job, let’s start the weaving process.
Start with the feet
Before weaving the basket, you must make the markings on the feet where the straps will lock, preventing them from moving out.
Depending on the width and thickness of the straps, mark their size and thickness on the feet at a distance of around 2 inches from the edge.
Then, cut shallow channels adequate to the thickness of the straps, and check to see how they fit. You can use sandpaper to smooth the channels and give them a better finish.
Read more: How to Make a Whoopie Sling

The base of the basket
The weaving process starts with the base of the basket.
Start by cutting 11 straps from the ⅞ inch reed, with a length of 46 inches, and 5 straps, with a length of 54 inches. Ensure you soak or spray them with warm water before weaving them together.
Start weaving the shorter and longer straps together in a criss-cross pattern, ensuring they are evenly spaced apart. You can do this easily by laying them on the floor. At first, the process may seem difficult, but as you progress, the straps intertwine and become sturdier, making the weaving much easier.
Once you’re done with the base, ensure no gaps or loose spaces between the straps. This will be the bottom of the basket, so you need to make it as sturdy as possible.
Attach the feet to the bottom
You can now proceed to attach the feet to the bottom. Carefully place the two pieces of wood beneath the weaved base, and screw them together with small screws or nails. You can even use wood glue, but it is unnecessary. Remember to drill pilot holes first to avoid splitting the reed and ruining the weave.
Start weaving the body of the basket
Your base is complete, and it’s time to start with the body.
Start by cutting 3 feet long straps from the ⅝ inch reed and soaking them in warm water. Then, from the side of the base with the shorter reeds, begin weaving them horizontally in a criss-cross pattern.
Make sure to tighten the rows together, preventing them from becoming loose. Be careful with the corners, as they should be tight but not as tight as to crack the reed.
Once your reed runs out, you will start with another, extending them and making them look like one piece. Do this by tucking the new reed behind the previous one, making sure it is wet. Once it dries, it will tighten and establish a firm connection with the previous reed.
Complete the weaving at the top
When you reach the top of the basket and the last weave row, make sure to tuck the end of the reed just like you’ve been doing when you were extending them in the previous step. Then, cut the reeds on the basket’s inside, flush with the top. Bend the ones on the outside inward, and tuck them into the seam, completing the top.
Add the rim to complete the top
To complete the top, you must now add a rim. This will lock the entire weave in place, making the basket long-lasting and durable.
The best material for a rim is ash wood because it’s flexible and can bend when dampened in warm water. But if you can’t find ash wood strips, leather or fabric will do just fine.
Proceed to wrap the top of the basket with a strap of ash wood or other material. First, wrap the inside and outside of the basket, making sure the straps overlap by about 4 inches.
Use plastic spring clamps to help you hold the straps in place while securely weaving them with a paracord and tightening them together.
Also read: How to Make a Bow and Arrow in the Forest
Complete the basket by adding the shoulder straps
The last step is to add the shoulder straps. You can use webbing as material for the straps and make them adjustable according to your preference.
One piece of webbing should “hug” the top of the basket, together with the straps, while the lower part of the straps should go into the shallow cuts you made in the feet, from the back to the front of the basket. You can also add adjustable sliders to the shoulder straps to adjust the basket to your back and shoulders.
